Printer Showing Offline? We’re Here to Help.
A printer that suddenly goes offline can interrupt your work and prevent important documents from printing. Whether you’re using a wireless or USB printer, offline issues are usually caused by connection problems, incorrect settings, outdated drivers, or print queue errors.
Our Printer Offline Setup guide provides easy-to-follow troubleshooting steps to help you restore your printer connection and get back to printing without unnecessary delays.
✔ Easy Step-by-Step Troubleshooting
✔ Compatible with Windows & macOS
✔ Wi-Fi, USB & Network Printer Support
✔ Covers Popular Printer Brands
✔ Beginner-Friendly Instructions
Start Troubleshooting Today
What Does “Printer Offline” Mean?
When your printer displays an “Offline” status, your computer cannot communicate with the printer. This may happen even when the printer is powered on. In most cases, the issue can be resolved by checking your printer connection, updating settings, restarting devices, or reinstalling the printer driver.
Our guides walk you through each step to help restore your printer’s online status safely and efficiently.
Common Reasons Why Your Printer Is Offline
Your printer may appear offline due to one or more of the following reasons:
Weak or disconnected Wi-Fi connection
Loose or damaged USB cable
Incorrect default printer settings
Printer set to “Use Printer Offline”
Print spooler service errors
Outdated or corrupted printer drivers
Network communication issues
Router or modem interruptions
Pending or stuck print jobs
Recent operating system updates
Identifying the exact cause is the first step toward resolving the problem.
Our Printer Offline Troubleshooting Services
Wireless Printer Offline
Reconnect your printer to your Wi-Fi network, verify network settings, and restore wireless printing.
USB Printer Offline
Check USB connections, reinstall printer drivers, and resolve communication errors between your computer and printer.
Windows Printer Offline
Troubleshoot offline printer issues on Windows 11, Windows 10, Windows 8, and Windows 7 using simple step-by-step instructions.
Mac Printer Offline
Resolve offline printer problems on macOS by updating printer settings and reconnecting your printer.
Driver Installation & Updates
Learn how to install, reinstall, or update printer drivers to improve performance and resolve offline issues.
Print Queue Problems
Remove stuck print jobs, restart the print spooler service, and restore normal printing.
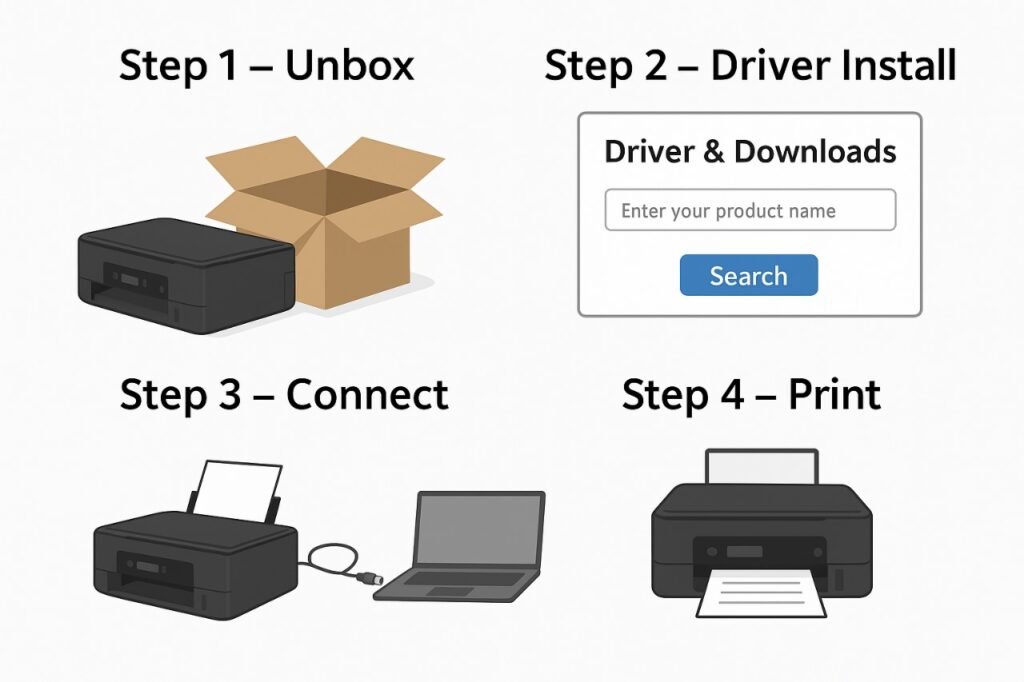
Step-by-Step Printer Offline Setup Guide
Step 1 – Check Printer Power
Ensure your printer is turned on and there are no warning lights or error messages displayed.
Step 2 – Verify the Connection
Confirm that your printer is connected correctly via Wi-Fi, Ethernet, or USB.
Step 3 – Restart Devices
Turn off your printer and computer, wait a few moments, and then restart both devices.
Step 4 – Set Your Printer as Default
Open your computer’s printer settings and select the correct printer as the default device.
Step 5 – Disable “Use Printer Offline”
Check your printer settings and ensure the “Use Printer Offline” option is disabled.
Step 6 – Clear the Print Queue
Cancel any stuck print jobs and restart the print spooler if necessary.
Step 7 – Update Printer Drivers
Download and install the latest compatible printer driver for your operating system.
Step 8 – Print a Test Page
After completing the setup, print a test page to verify that the printer is working correctly.
Supported Printer Brands
Our troubleshooting resources cover many popular printer manufacturers, including:
HP Printers
Canon Printers
Epson Printers
Brother Printers
Lexmark Printers
Xerox Printers
Ricoh Printers
Samsung Printers
Dell Printers
Kodak Printers
Supported Operating Systems
Windows 11
Windows 10
Windows 8
Windows 7
macOS
Supported Connection Types
Wireless (Wi-Fi)
USB
Ethernet
Local Network
Wireless Direct
Bluetooth (Supported Models)
Why Choose Our Printer Setup Guides?
Simple & Easy Instructions
Our guides are written in plain language so anyone can follow them, regardless of technical experience.
Comprehensive Troubleshooting
From driver issues to network connectivity problems, we cover the most common printer offline scenarios.
Regularly Updated Content
Our troubleshooting information is updated to reflect the latest operating systems and printer technologies.
Helpful Resources
Access setup guides, troubleshooting articles, and answers to common printer questions in one place.
Frequently Asked Questions
Why does my printer keep showing offline?
Offline status can occur due to connection problems, outdated drivers, incorrect printer settings, or temporary communication errors between the printer and computer.
How do I bring my printer back online?
Restart your devices, verify the connection, disable “Use Printer Offline,” clear pending print jobs, and update your printer driver if necessary.
Do I need to reinstall my printer?
Not always. Many offline issues can be resolved without reinstalling the printer. If basic troubleshooting doesn’t work, reinstalling the printer may help.
Can Wi-Fi issues cause my printer to go offline?
Yes. A weak or unstable wireless connection is one of the most common reasons printers appear offline.
Is this guide compatible with all printer brands?
The troubleshooting steps apply to most major printer brands. Some models may require brand-specific settings or drivers.
Get Your Printer Back Online Today
Don’t let an offline printer interrupt your work. Follow our step-by-step troubleshooting guides to identify the problem, restore your printer connection, and resume printing with confidence.
Start Printer Offline Troubleshooting Now
Disclaimer
This website is an independent provider of printer setup information and troubleshooting resources. We are not affiliated with, endorsed by, or sponsored by any printer manufacturer. All trademarks, brand names, and product names are the property of their respective owners and are used solely for identification purposes.